CW Tips: Easy Kitchen Organizing Projects for the New Year

Happy 2021! Here’s to hoping that it is A LOT better than 2020. We’ve put together a few small kitchen organizing projects that you can tackle while the kids are napping or while they’re (hopefully) back in school. Start your year off right and take a little time to get organized! You’ll thank yourself later, we promise.
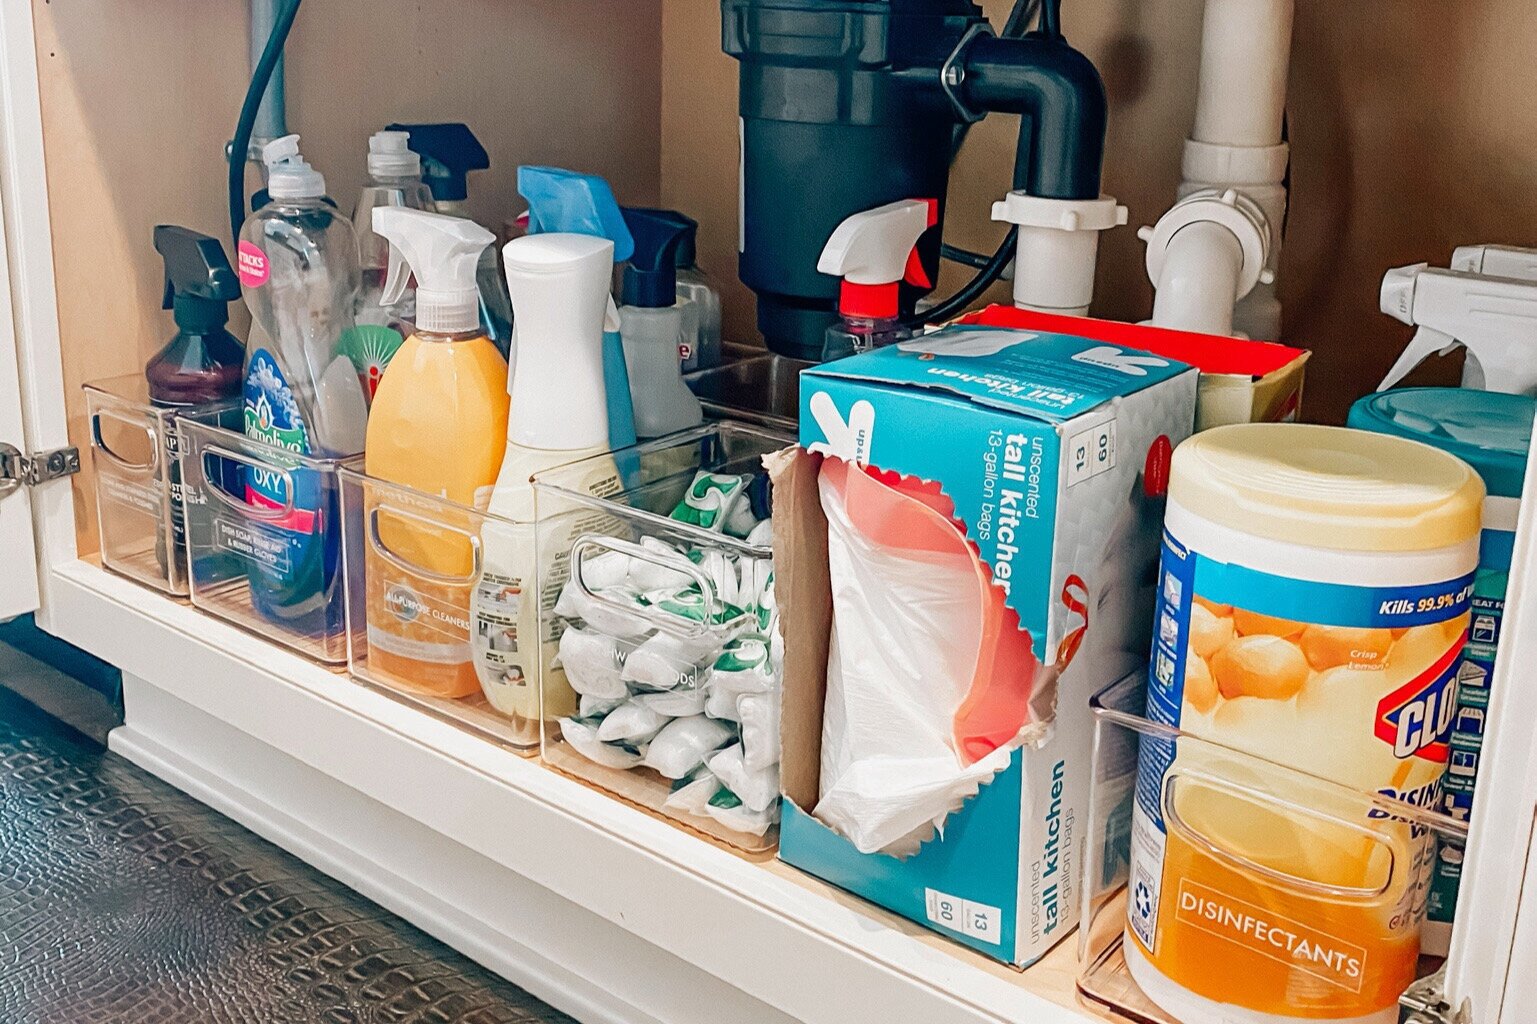
Under the Sink or in the Cleaning Closet
Pull everything out of the closet or from under the sink. You’ll find things under that sink that you haven’t seen in years. I once found a potato that had to have been more than a year old. It was so old and dried up, it was almost unrecognizable. Wipe down the shelves of the closet or under the sink. You might need to vacuum it first if there is a lot of dirt.
Get rid of all the products that you’ll never use. For many clear liquids (multipurpose, glass cleaner, dish soap, laundry detergent) you can pour them down the drain while water is running to dispose of them. These products are usually water-soluble and would be disposed of via the drain or sink during use anyways. Powder cleansers are also okay if you’d normally be using them in the toilet, sink or shower. Just be sure to keep water running and to pour slowly. Put any solid cleaners into the trash. For other cleaners or hazardous cleaners (bleach, oven cleaner, furniture polish, etc.) read the label to see how to dispose of them or you can check online. You can always offer anything you don’t want to a friend or a cleaning company. Alternatively, you could just make a point to use up what you have even if it’s not the scent or exact kind that you prefer.
Categorize what’s left by type: disinfectants, bathroom cleaners, silver and furniture polish, kitchen cleaners, dish soap, hand soap.
We love using turntables in cleaning closets because it helps all items to be accessible. Narrow, deep bins work great under the sink. Try to keep the items on each turntable or in each bin categorized so you can easily grab what you need.
Products:
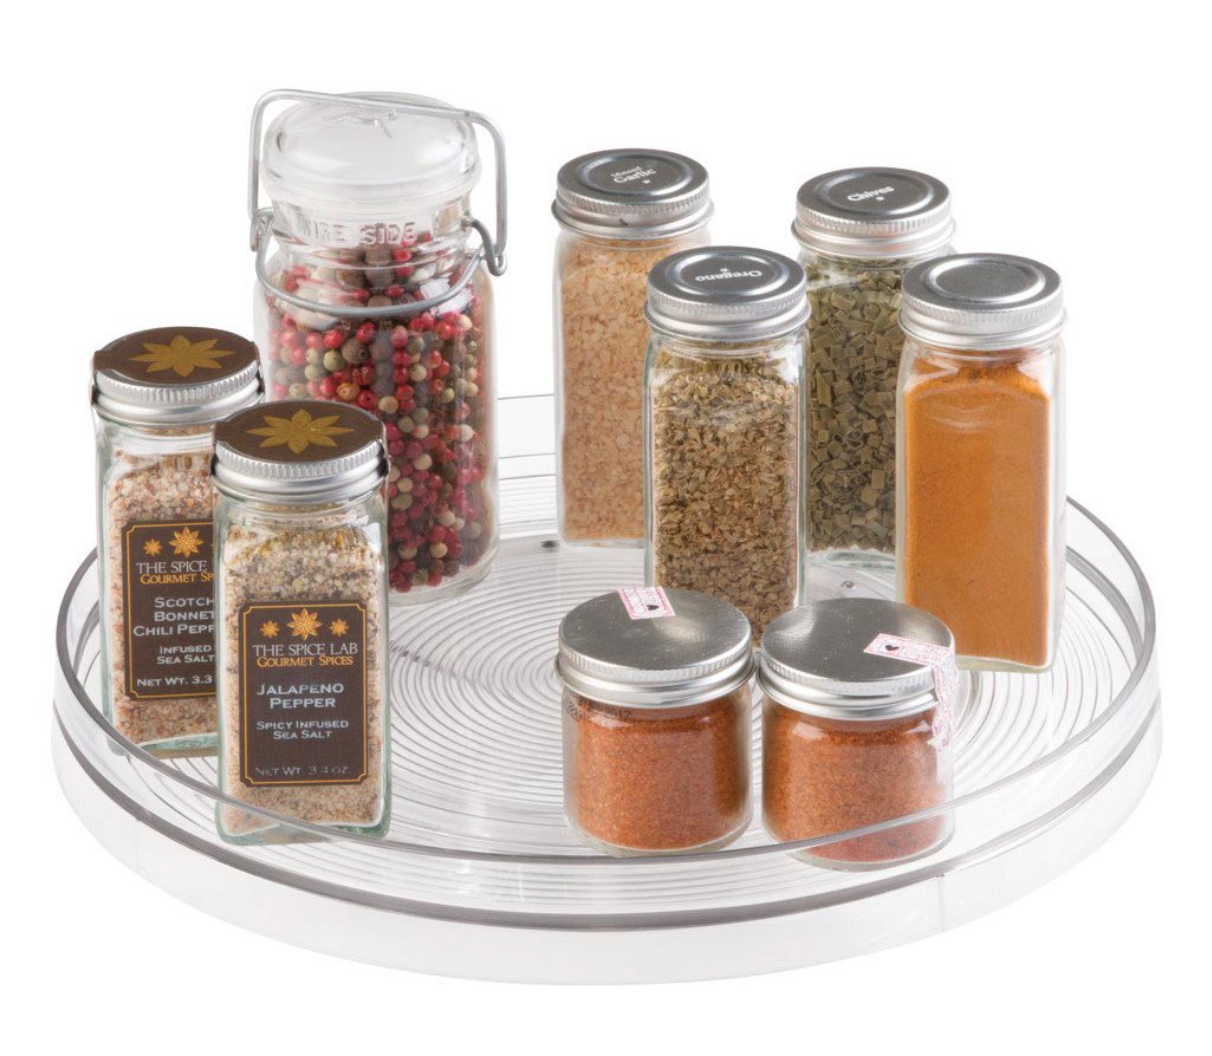
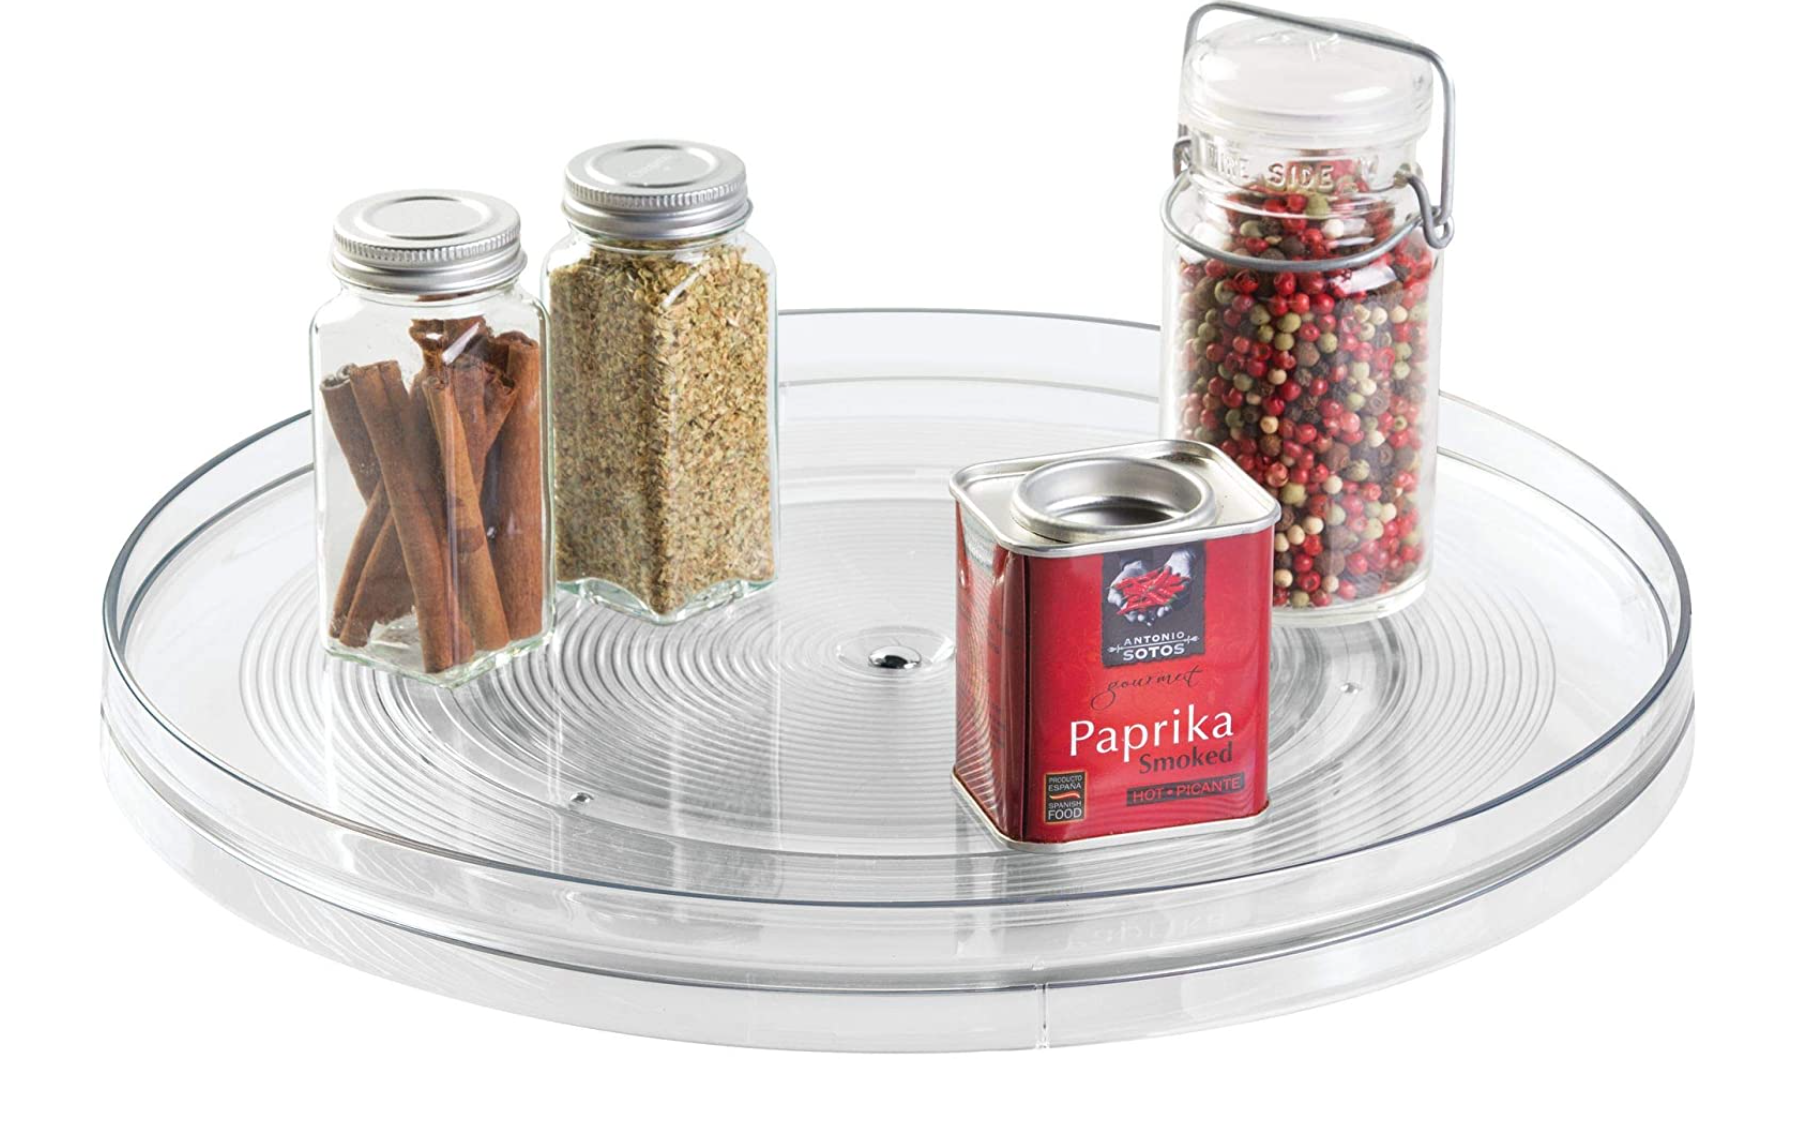
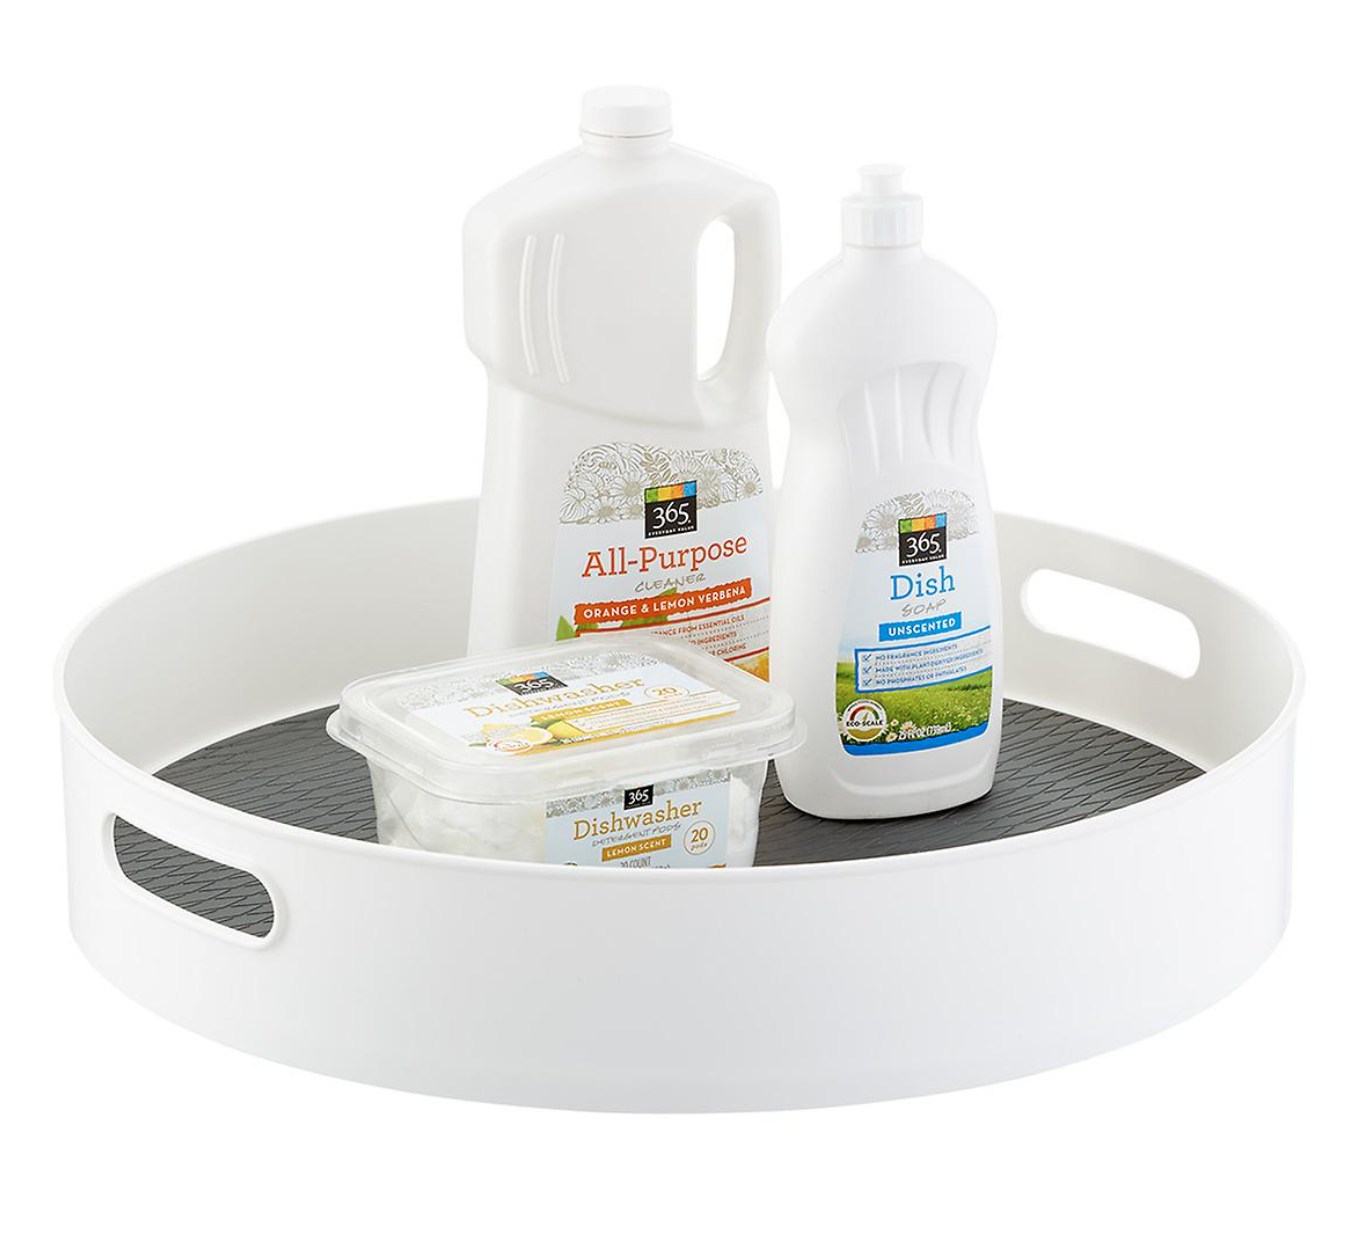
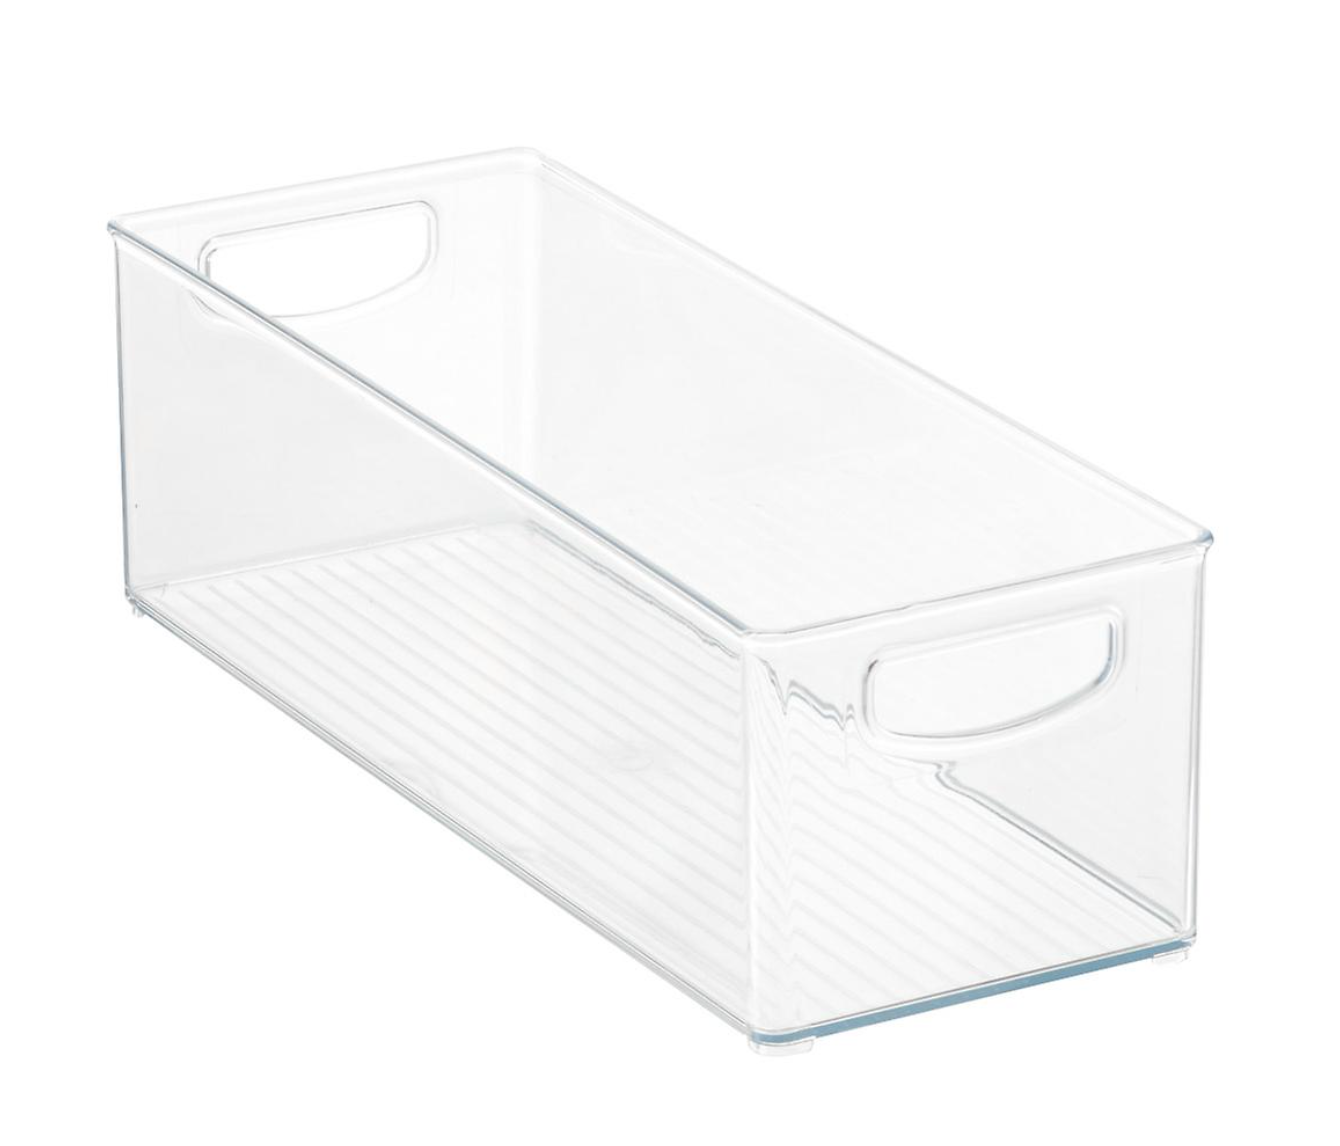
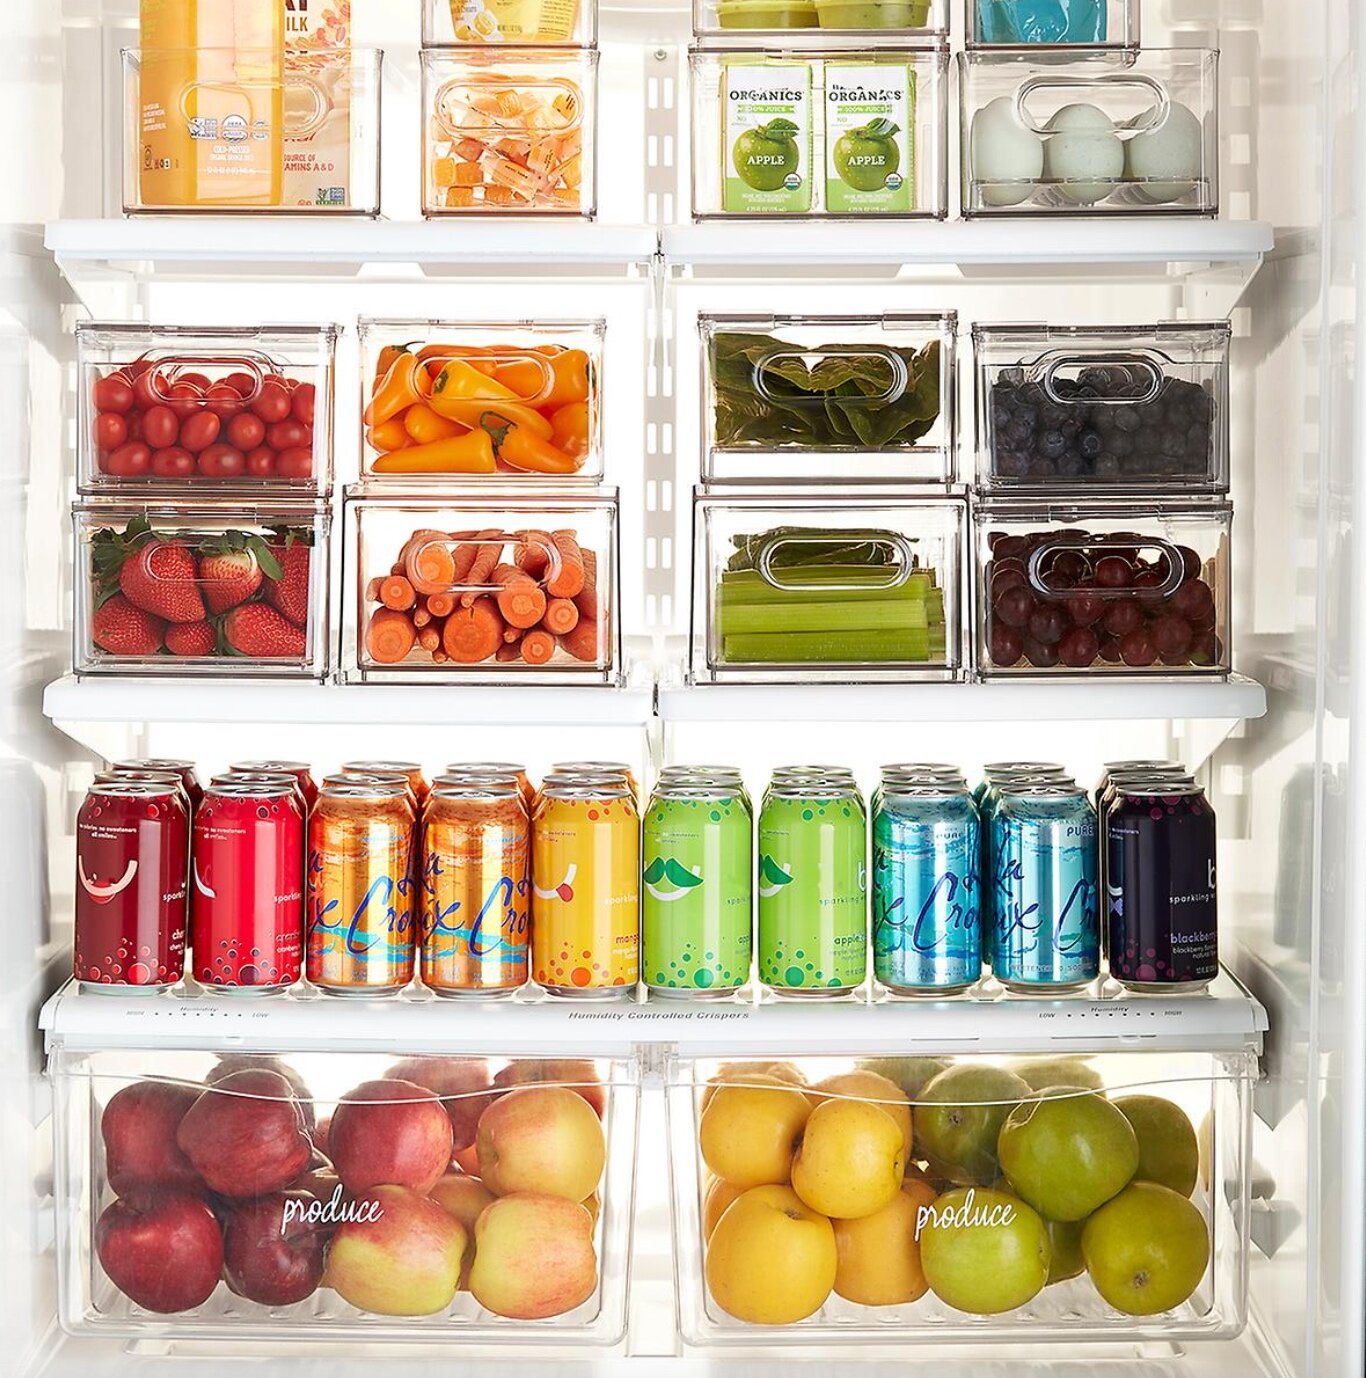
Photo Source: The Container Store
Refrigerator
Take everything out of the fridge and sort by type: condiment, produce, cheese, deli meat, meat, beverages, etc.
Roll up your sleeves and wipe down every shelf and drawer. You can remove the shelves and drawers in most fridges, which make it easier to wash in the sink and rinse. Wipe down the entire inside and while you’re at it, wipe down the outside including the handles. We would recommend a multipurpose spray for the inside, preferably one that disinfects. For the outside, use a stainless-steel cleaner if you have a stainless and multipurpose for a non-stainless. This is probably the MOST important step and will make the biggest difference. Those tiny crumbs and drips accumulate over time and you don’t realize how bad it is until you see the fridge after you’ve cleaned it. To be honest, I was a pretty grossed out by my own fridge when I finally cleaned all the drawers and shelves.
Go through each of the categories that you’ve established and check the expiration dates. Throw out anything that is expired or that you know you won’t use. If you can, rinse out recyclable containers and recycle them. Make a list of items you need to replace.
Start putting items back into the fridge using these tips:
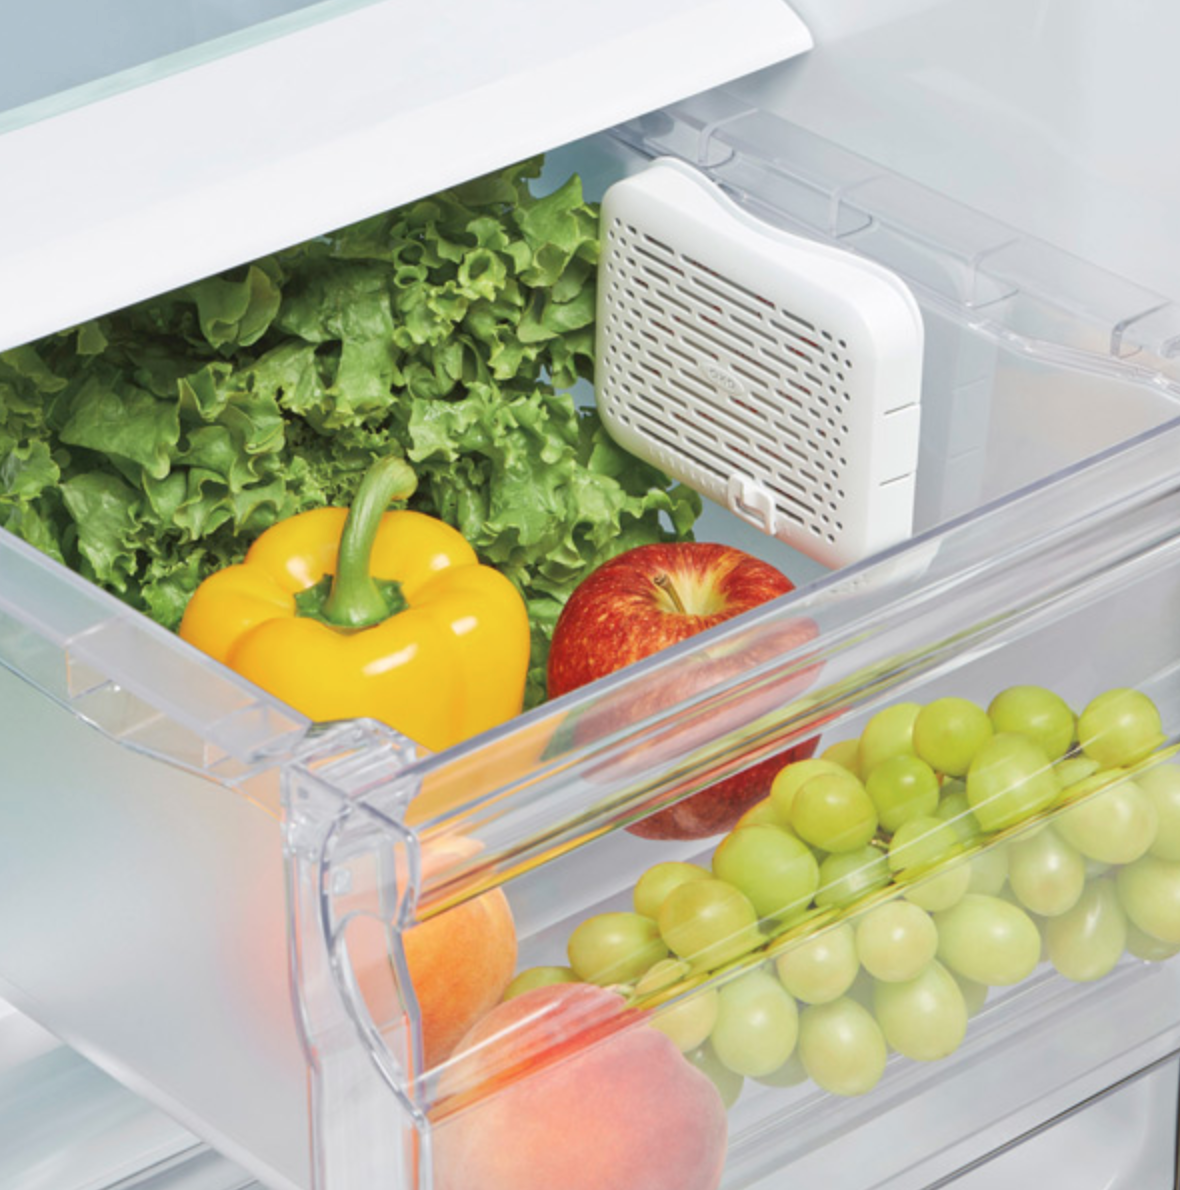
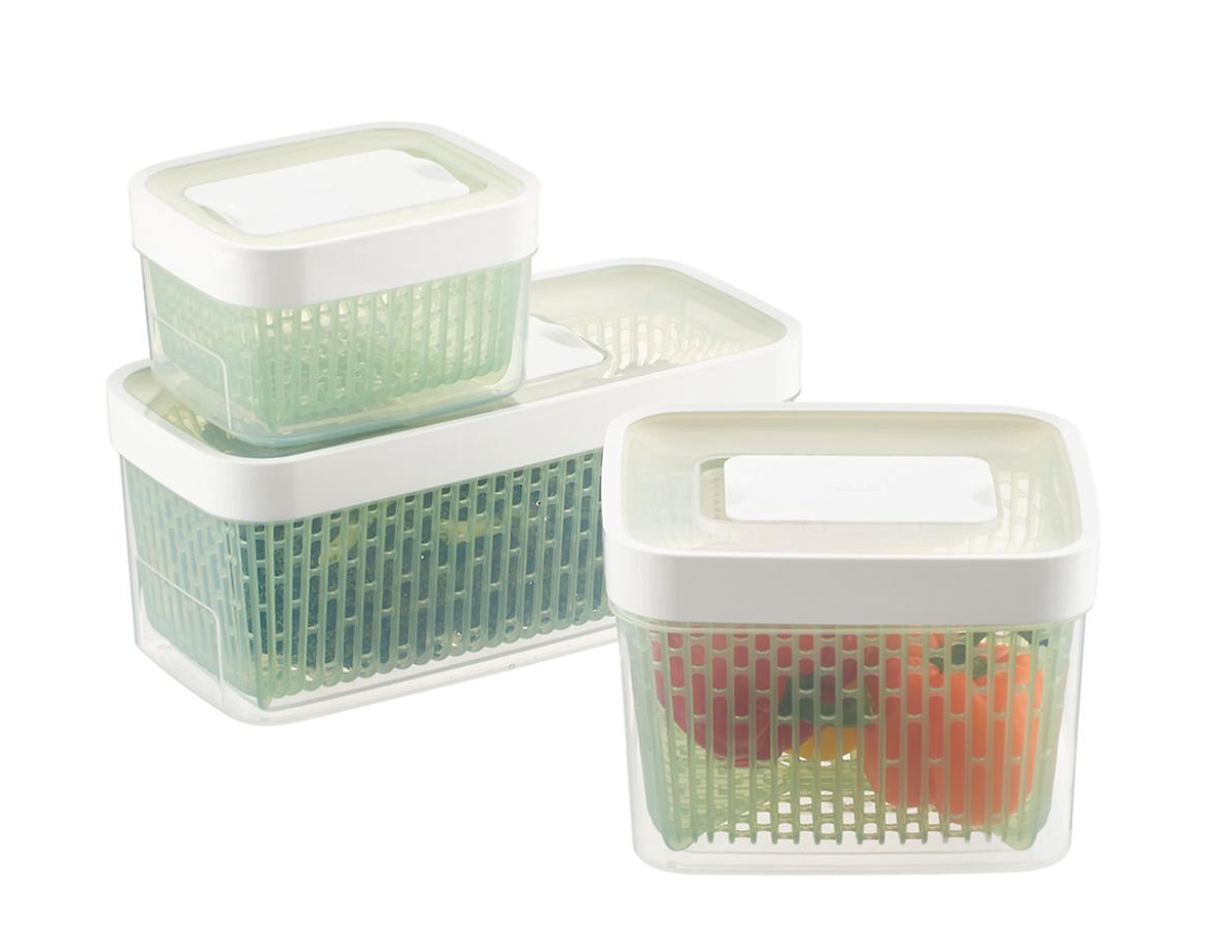
Produce stays freshest if you utilize the fruit and vegetable drawers in the fridge. Some fridges allow you to select the type of produce you’re putting in the drawer. You can also purchase OXO Crisper Drawer inserts that help extend the life of your produce. If you run out of drawer space, the OXO Greensaver Produce Keeper work great and can almost double the shelf life.
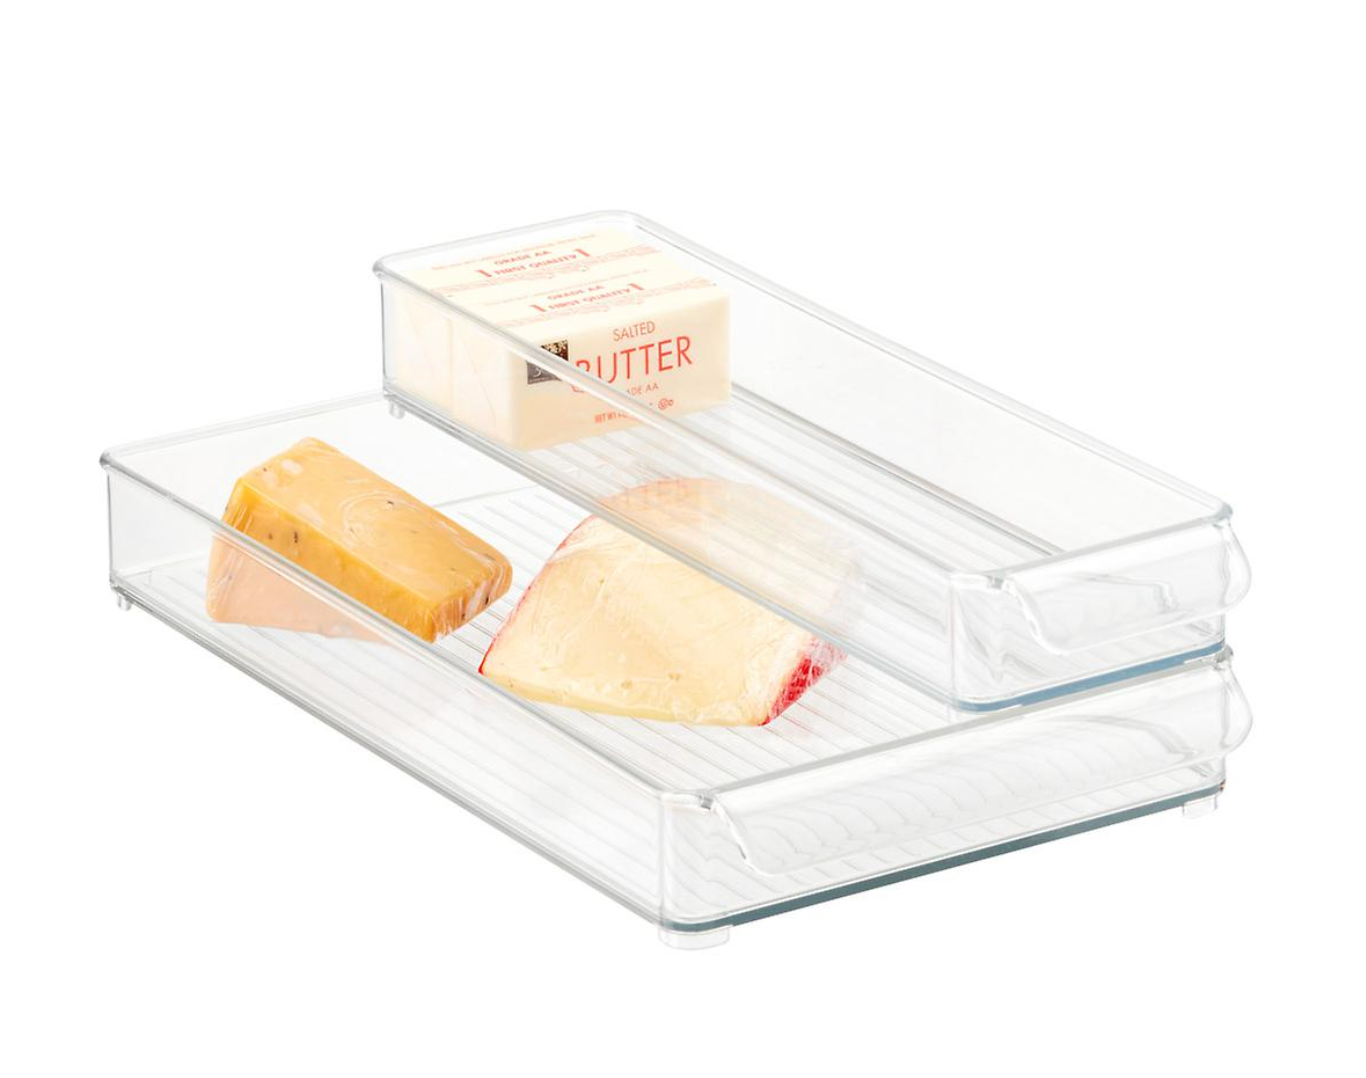
Cheese and Deli Meat should also go in the designated drawer. If your fridge doesn’t have a drawer for this, you can use these shallow, stacking iDesign Fridge Bins.
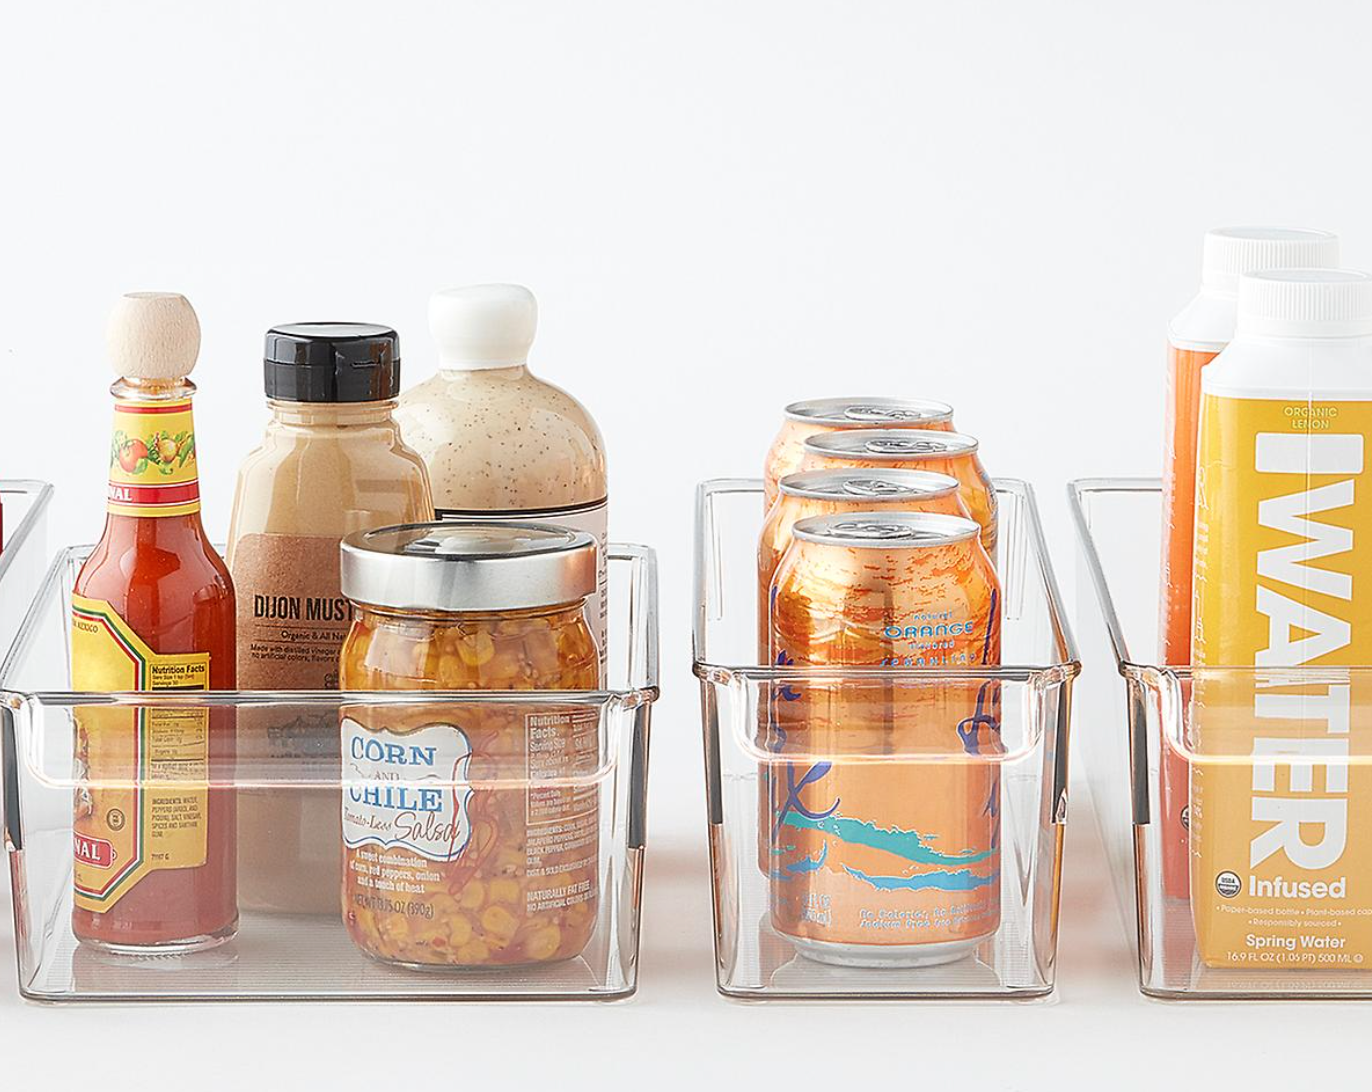
Large beverages (milk, orange juice, etc.) should go in the doors so you don’t take up too much shelf space.
Put taller condiments in the door of the fridge, if you have room, and you can put others into these Linus Deep Fridge Bins on the shelves.
Products:
Label if you think it’s necessary. While you might think that it would be obvious to put the salad dressing back with the other salad dressings, don’t assume your spouse or child has any common sense. Make it super easy for everyone in your house to maintain the organizational system you put in place!
Lastly, grab that chilled white wine and pour yourself a glass. You did it! And you’ll be thanking yourself and admiring your work every time you crack open the fridge.
Pantry
Once again, take everything out the area. Throw out anything that is expired. If there are unopened, unexpired food non-perishables, consider donating them to a food bank. Or you can offer to a friend.
Wipe down all the shelves and vacuum up any crumbs.
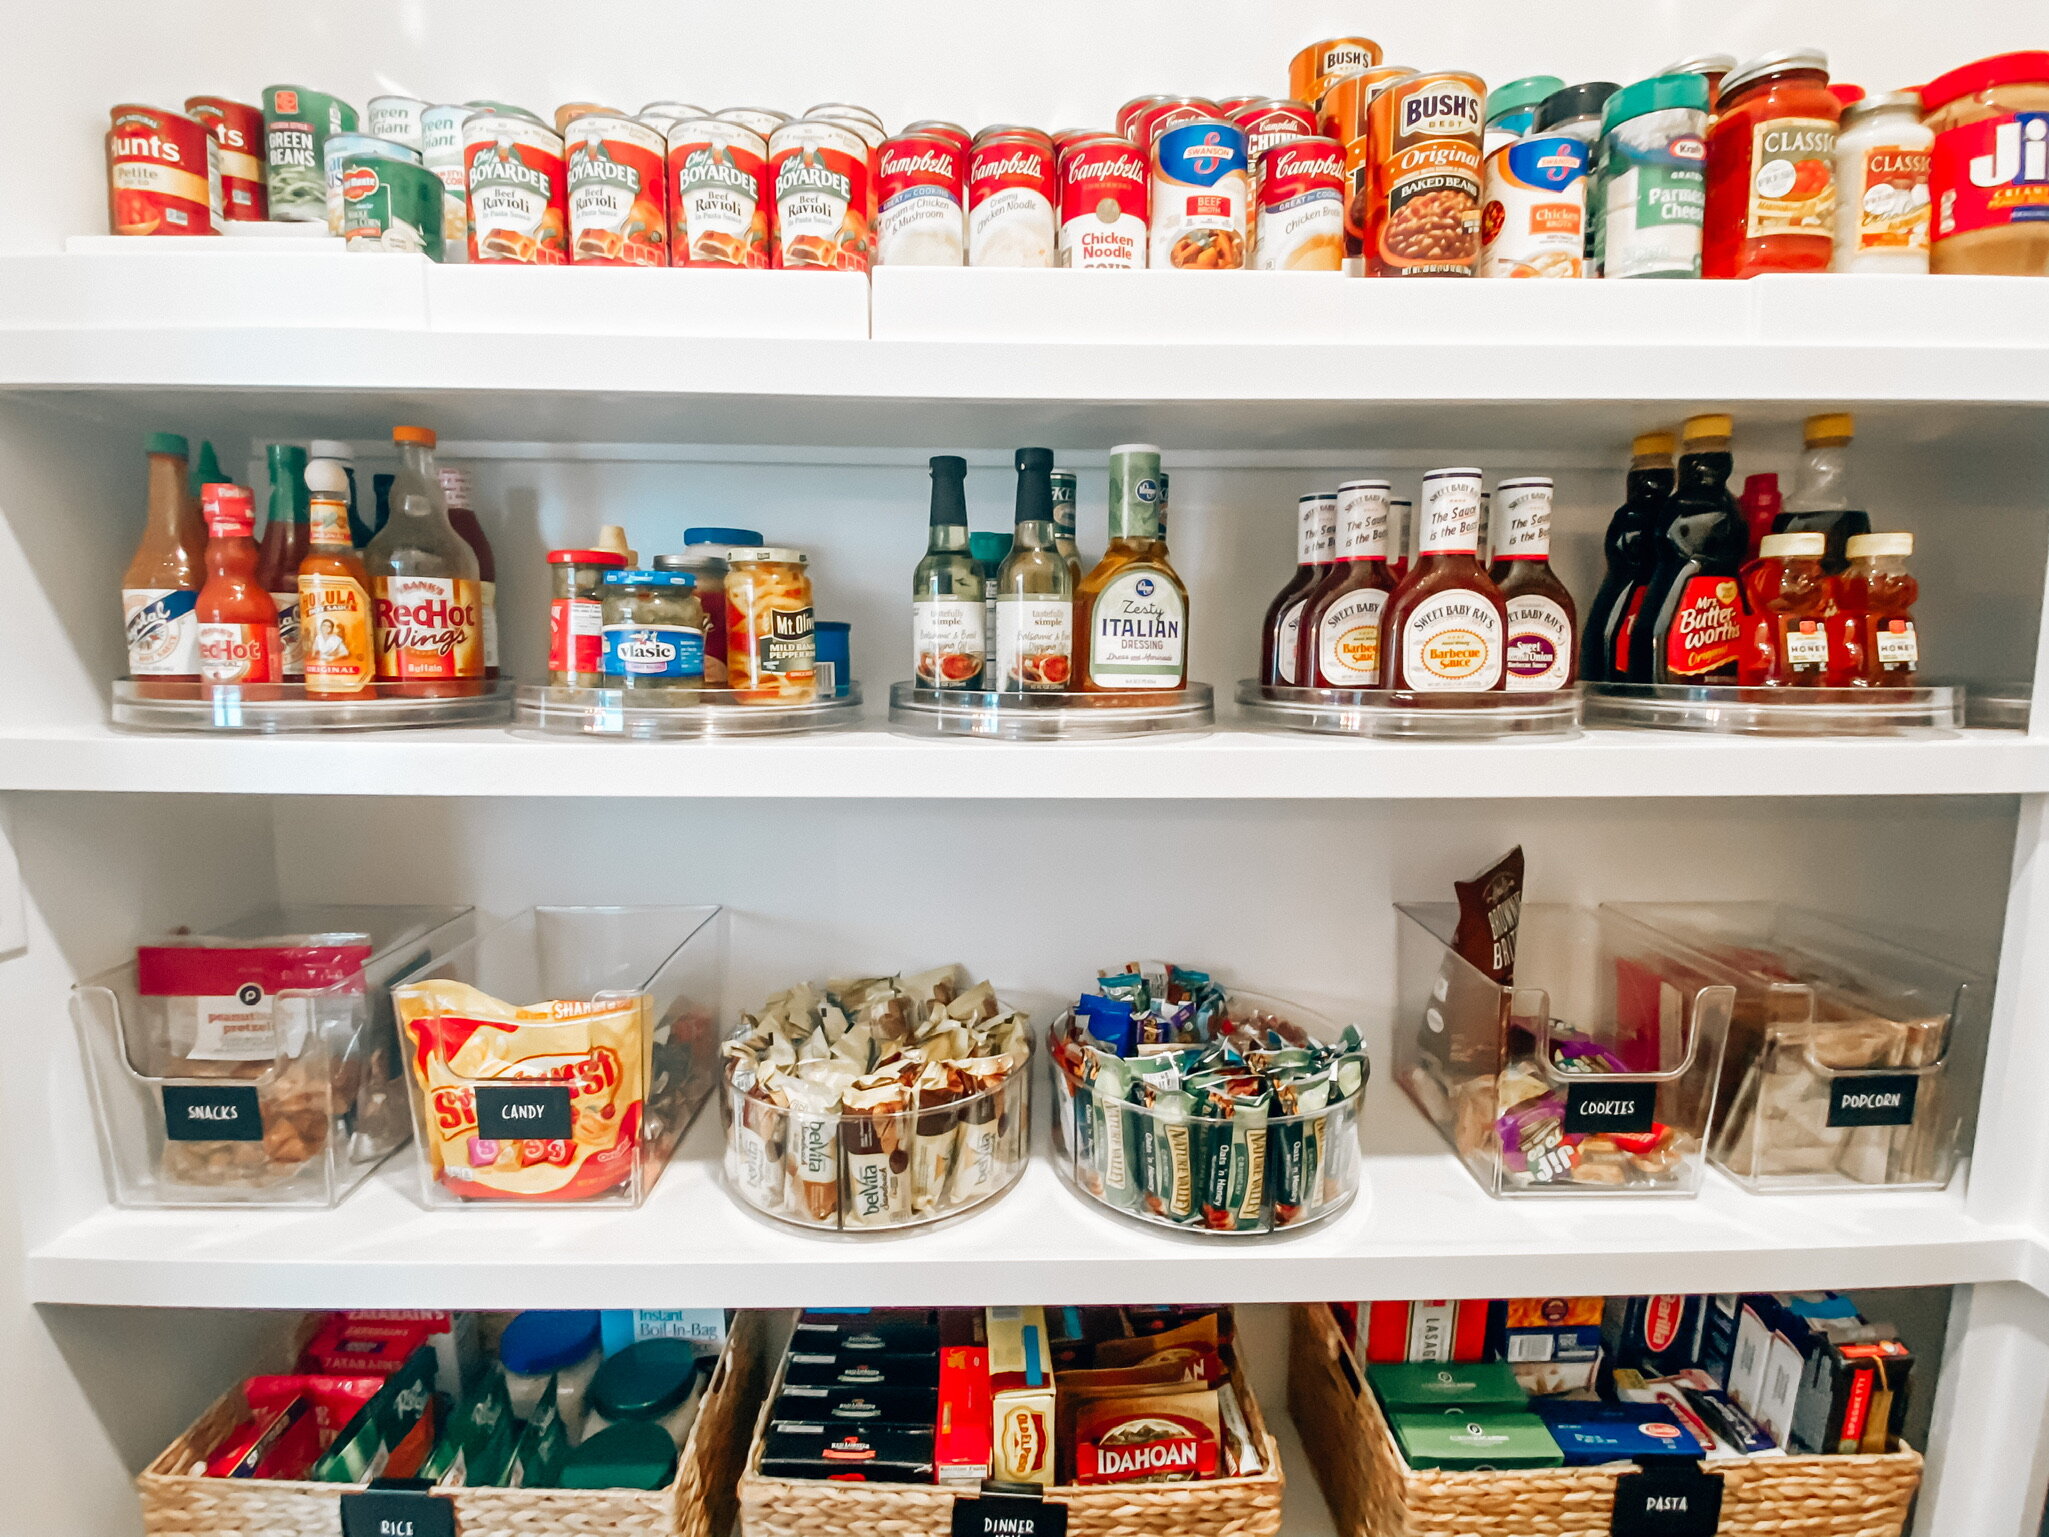
Sort the food items by category and consider some of these products to keep them organized:
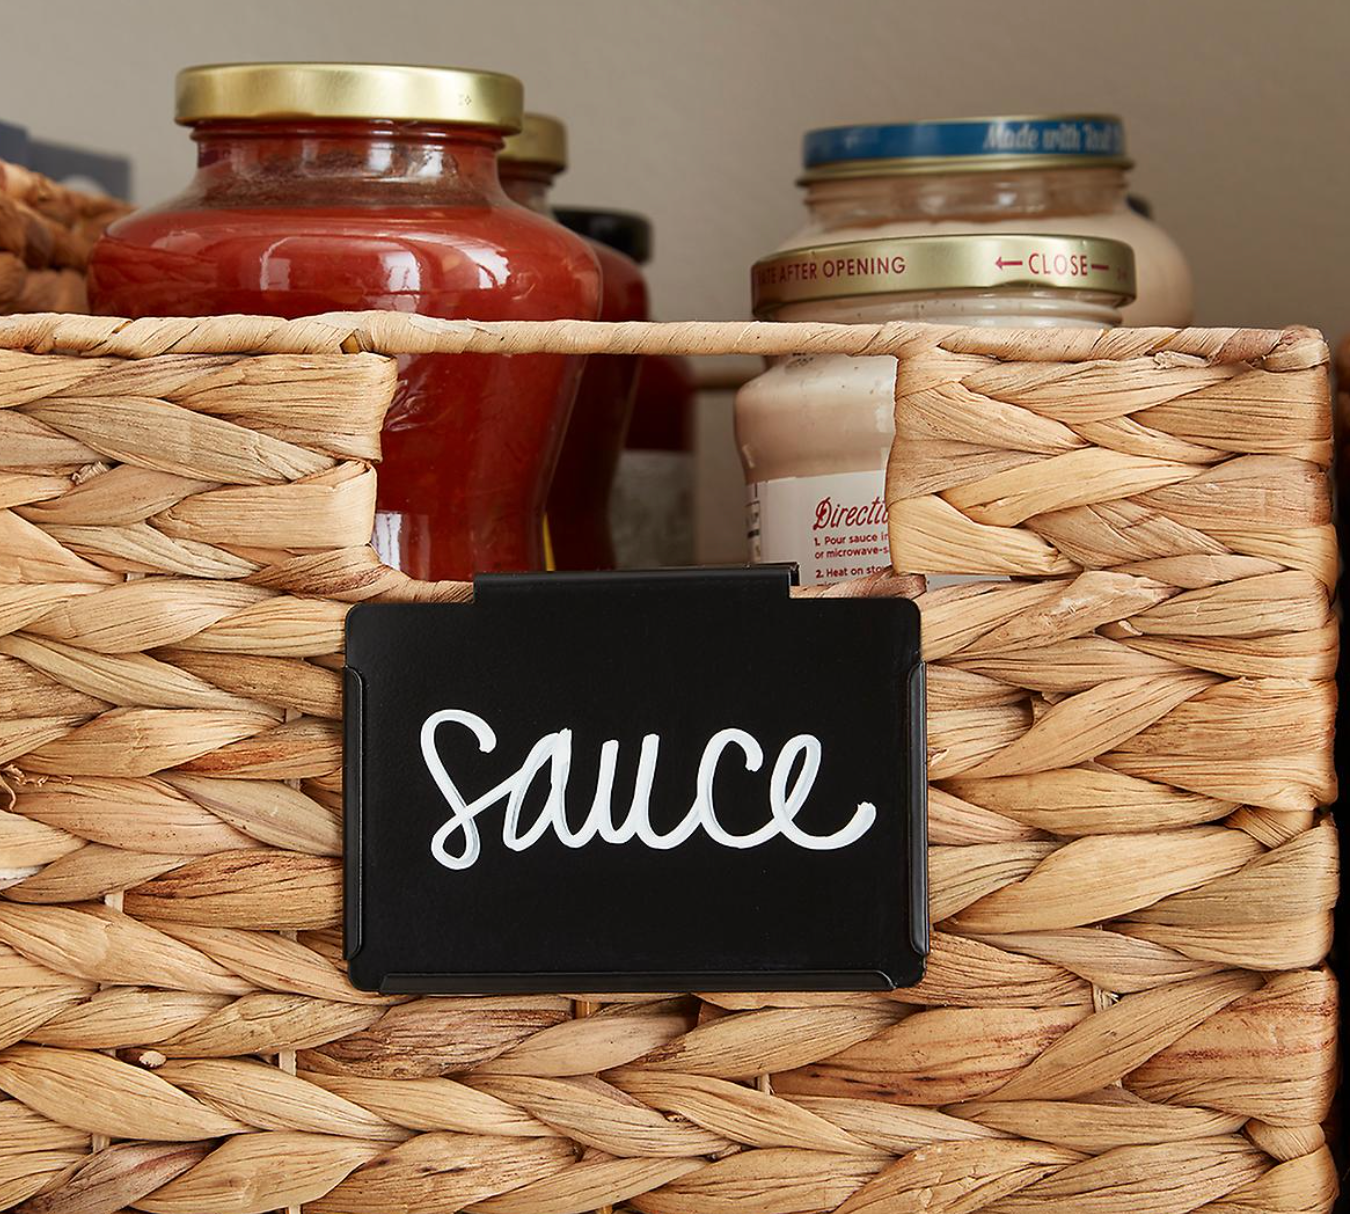
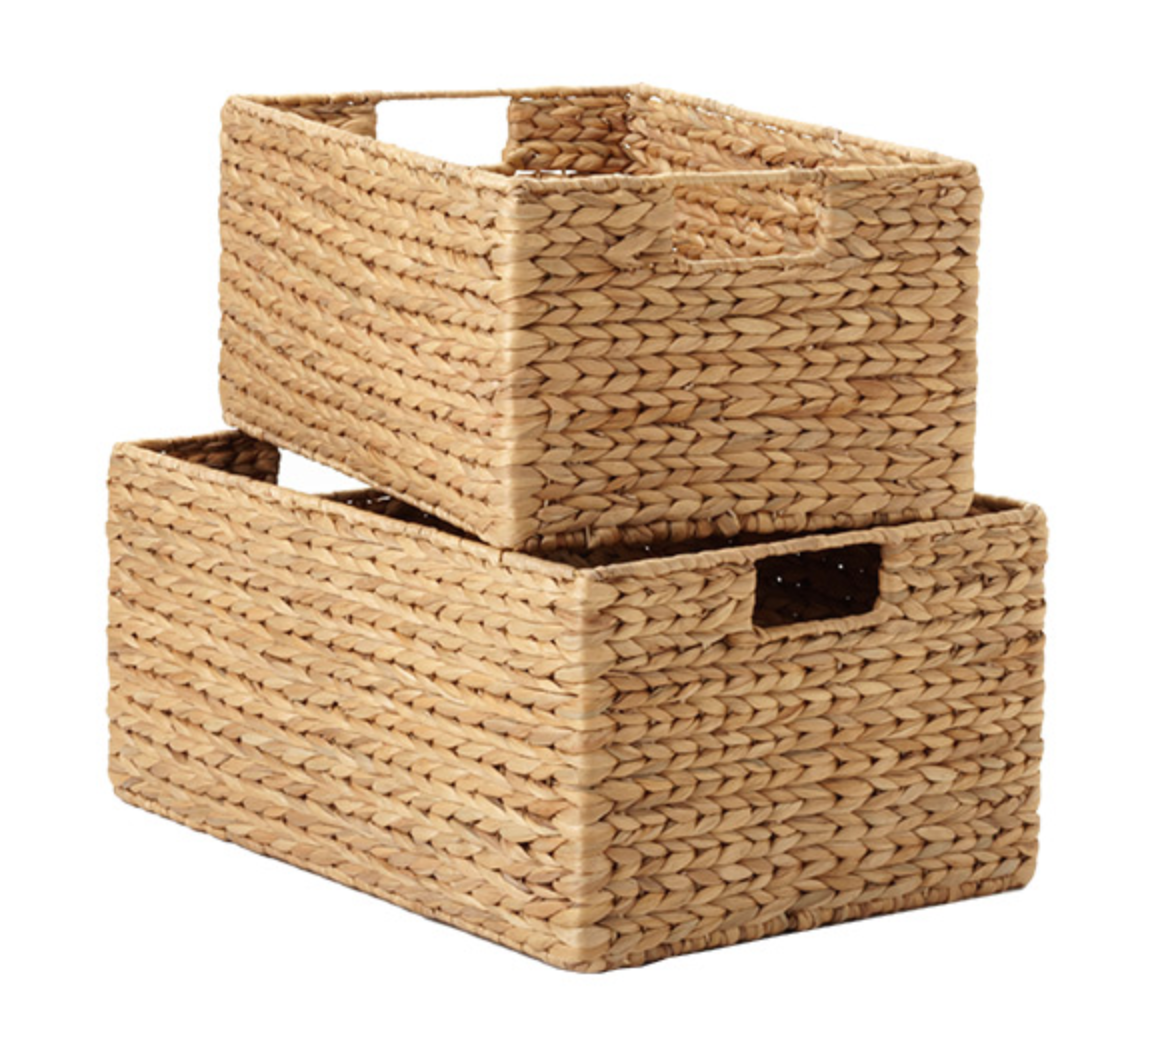
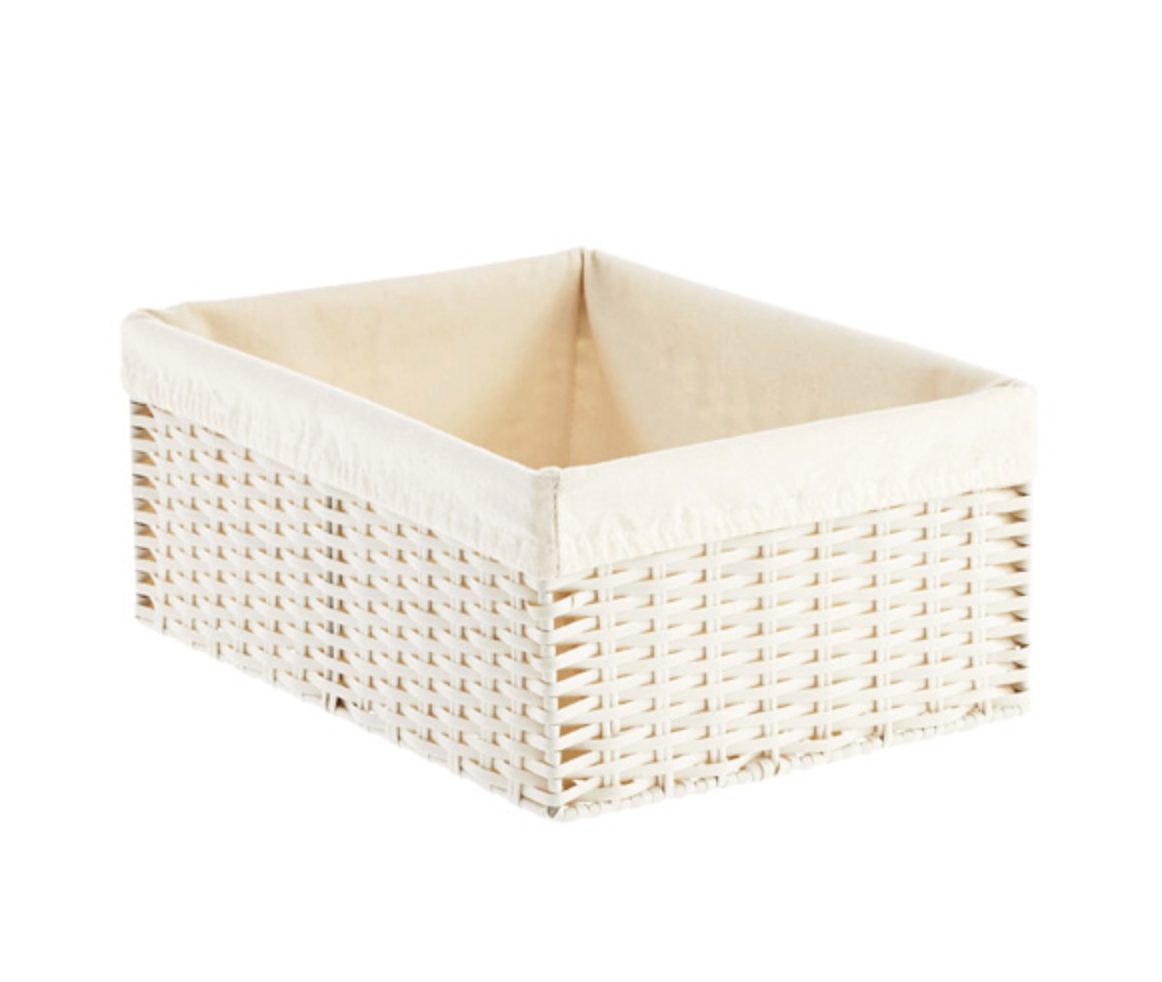
Large baskets – great for larger categories of food (rice and pasta, crackers, chips, baking, breakfast, etc.)
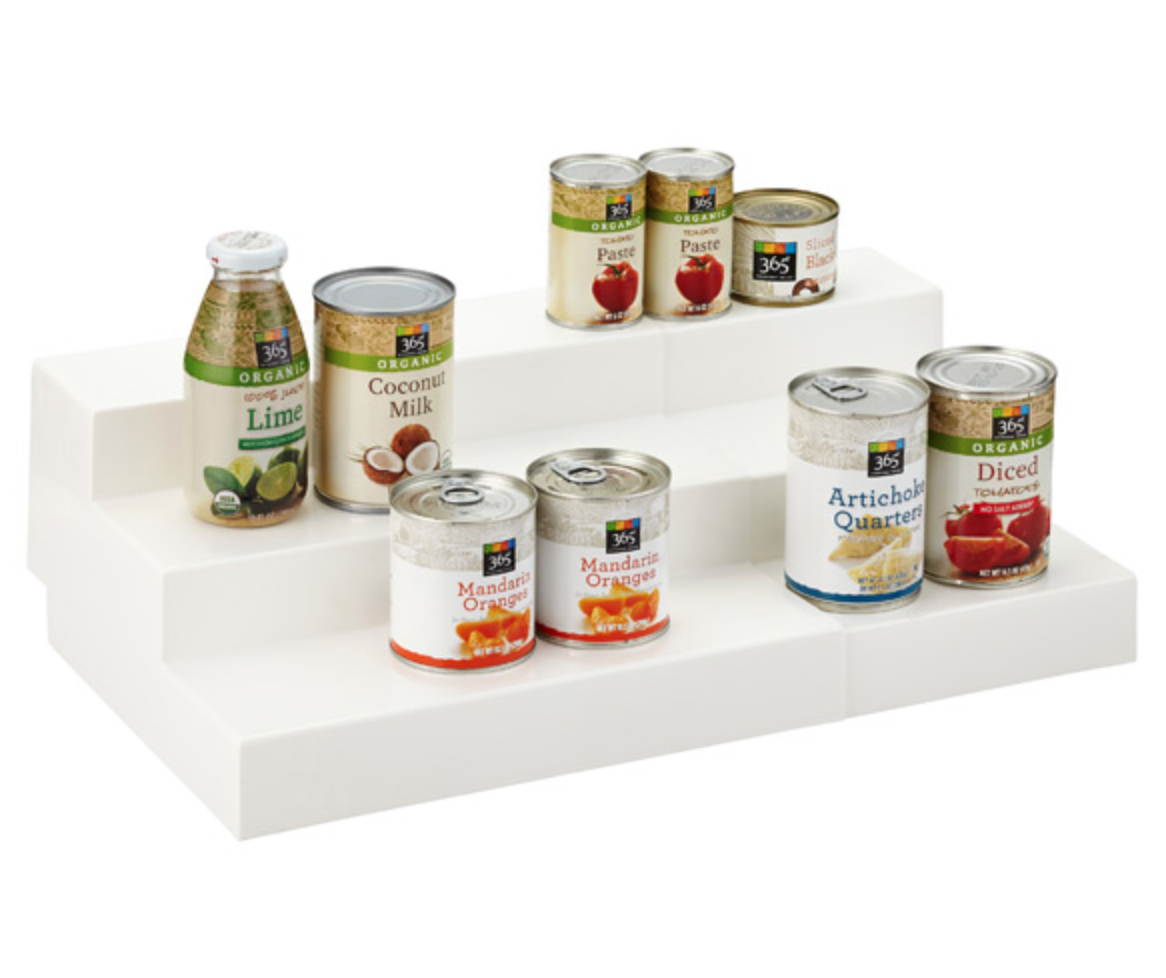
Tiered shelves – cans and backstock condiments
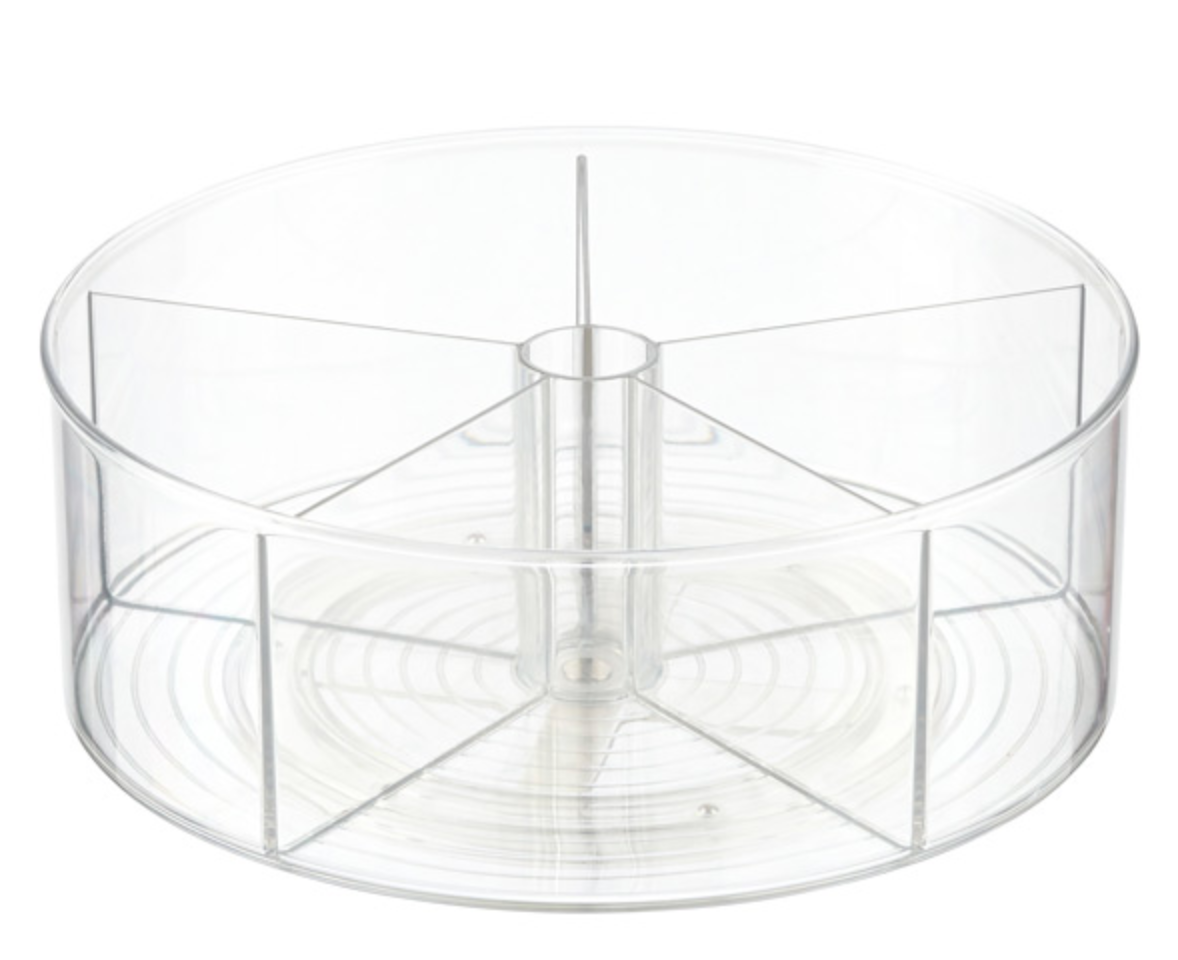
Turntables – our favorite for tall bottles (oils, vinegars, salad dressing) or larger cooking products (breadcrumbs, coconut oil, pasta sauce, Costco-sized items)
Medium-sized clear bins – good for smaller categories like baking, nuts, dried fruits, candy, etc.)
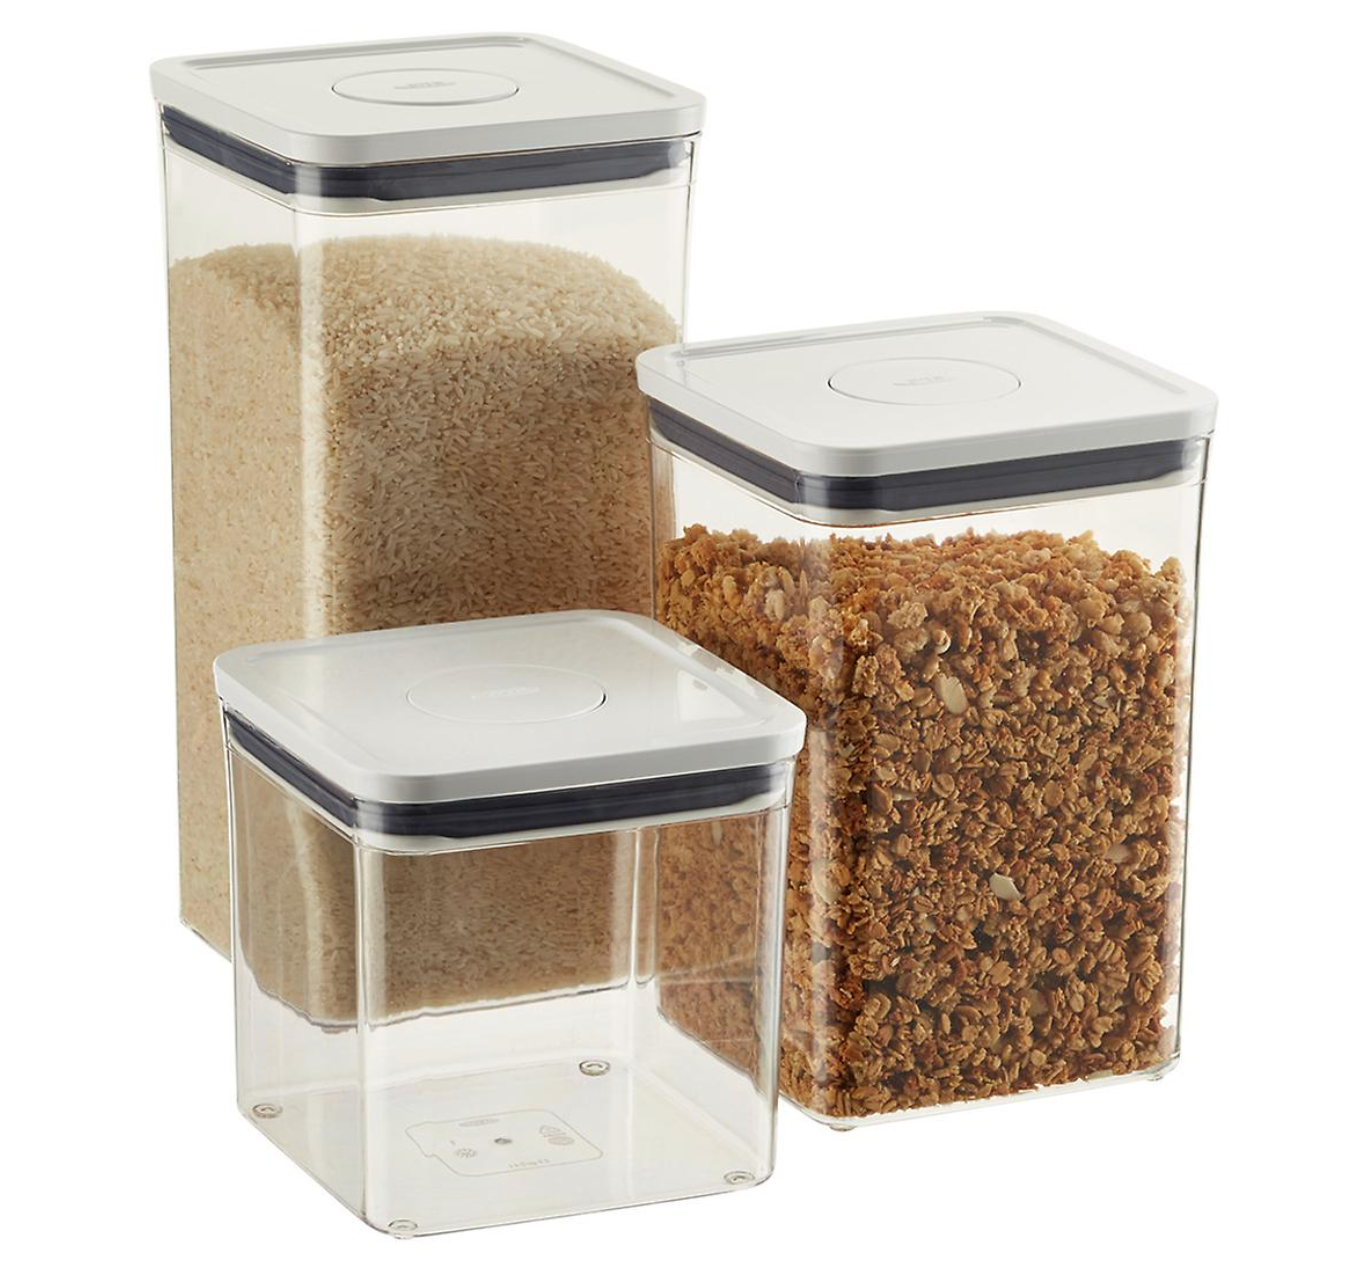
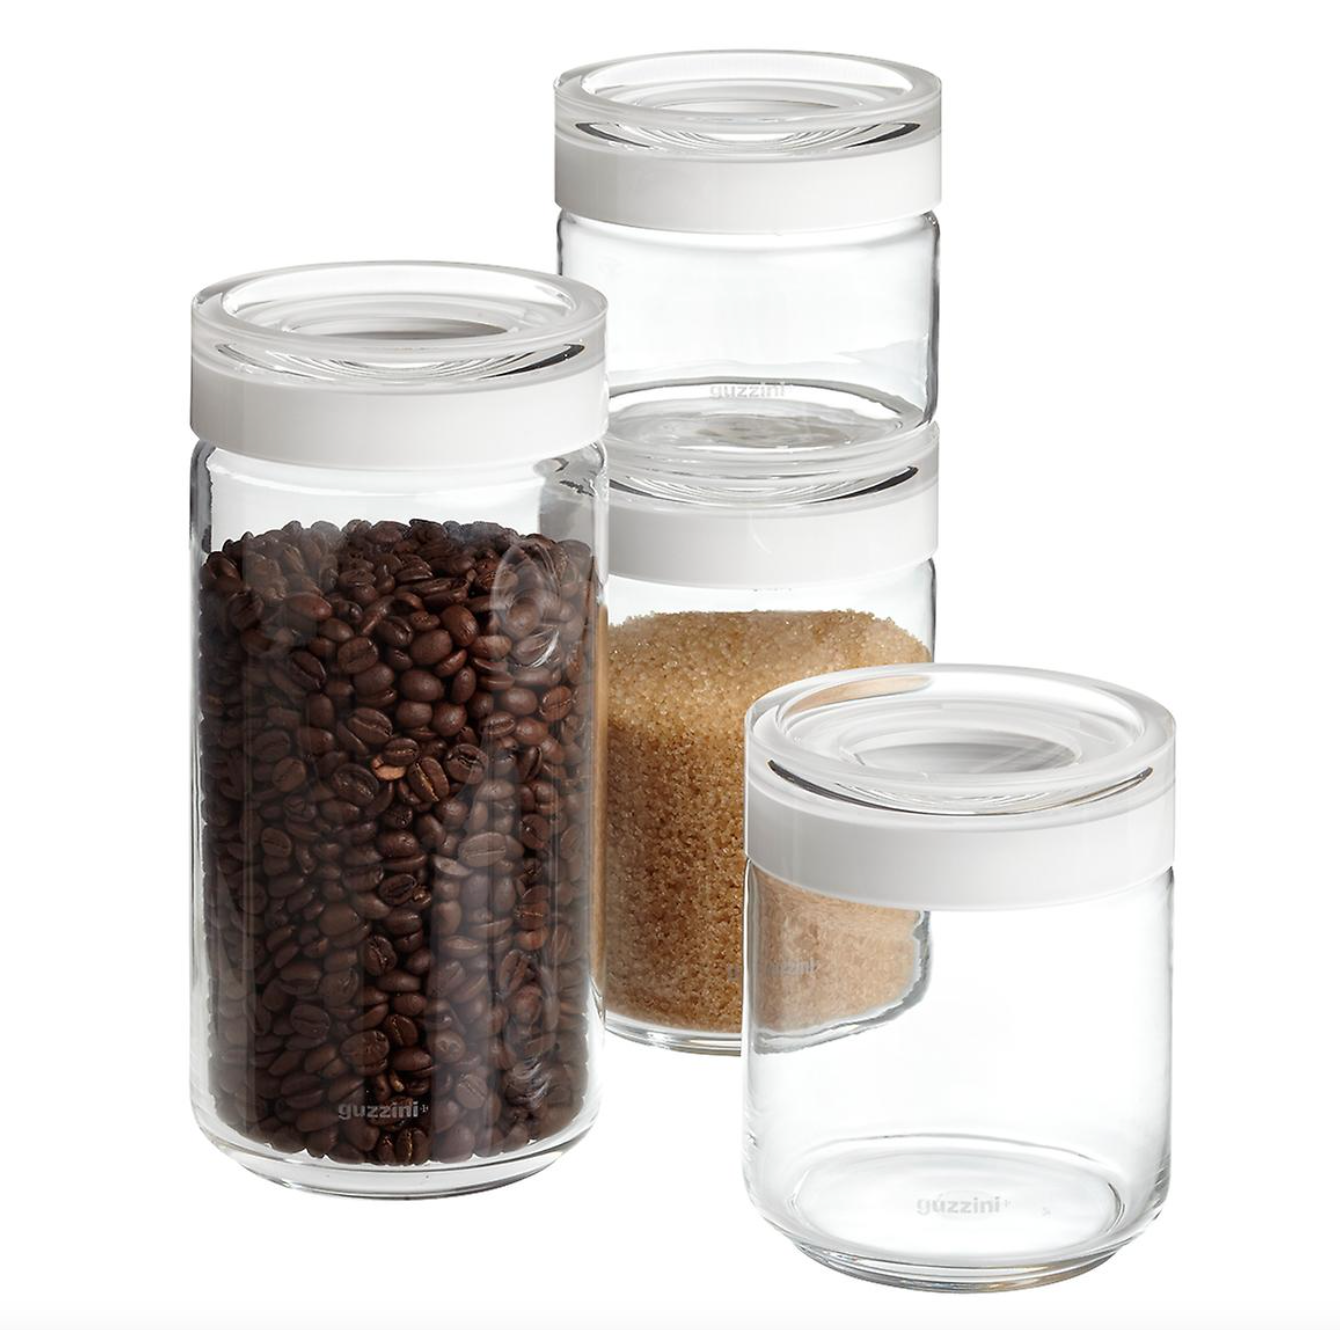
Glass or plastic containers – for pantry staples like flour, sugar, cereal, etc. This is a great option if you don’t mind decanting items when you purchase them. It can help you maximize storage space and is aesthetically pleasing.


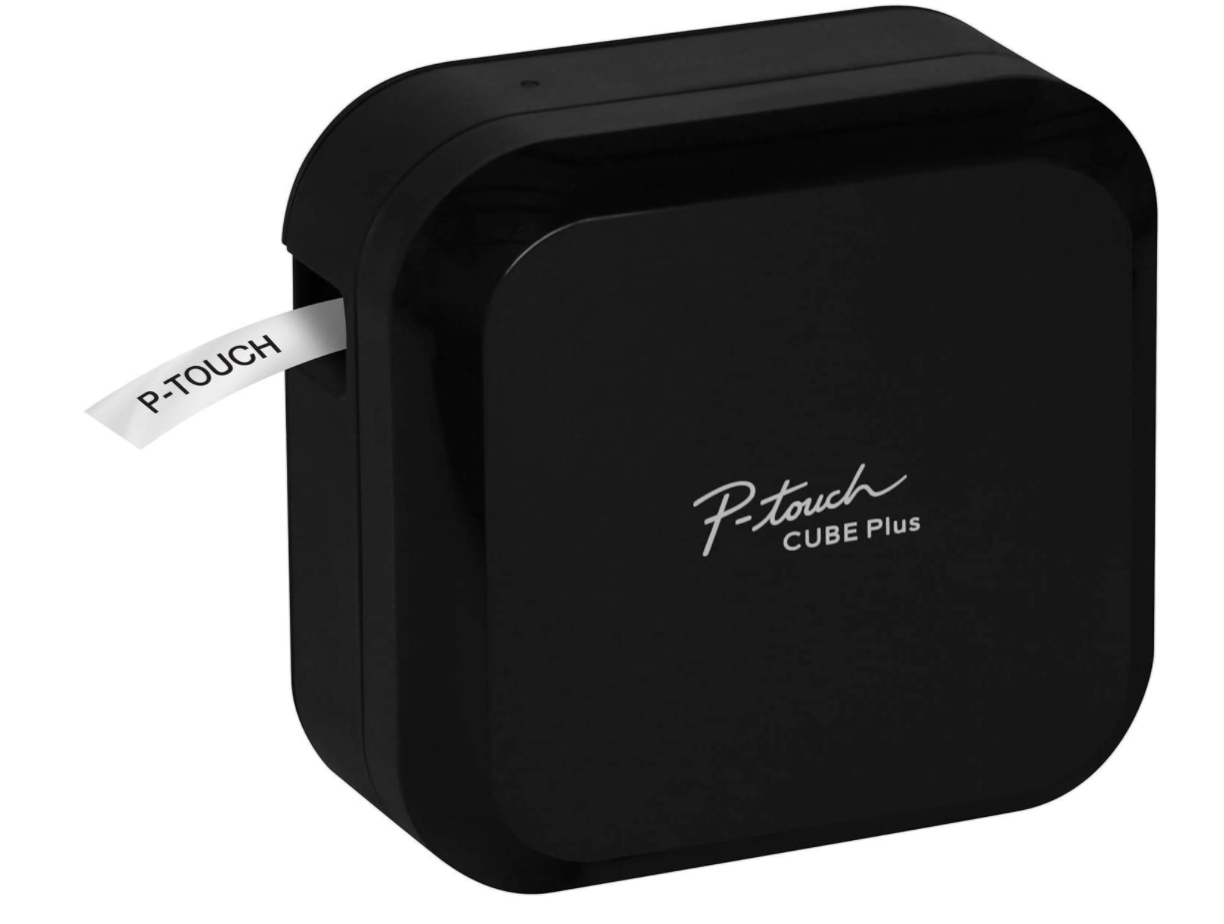
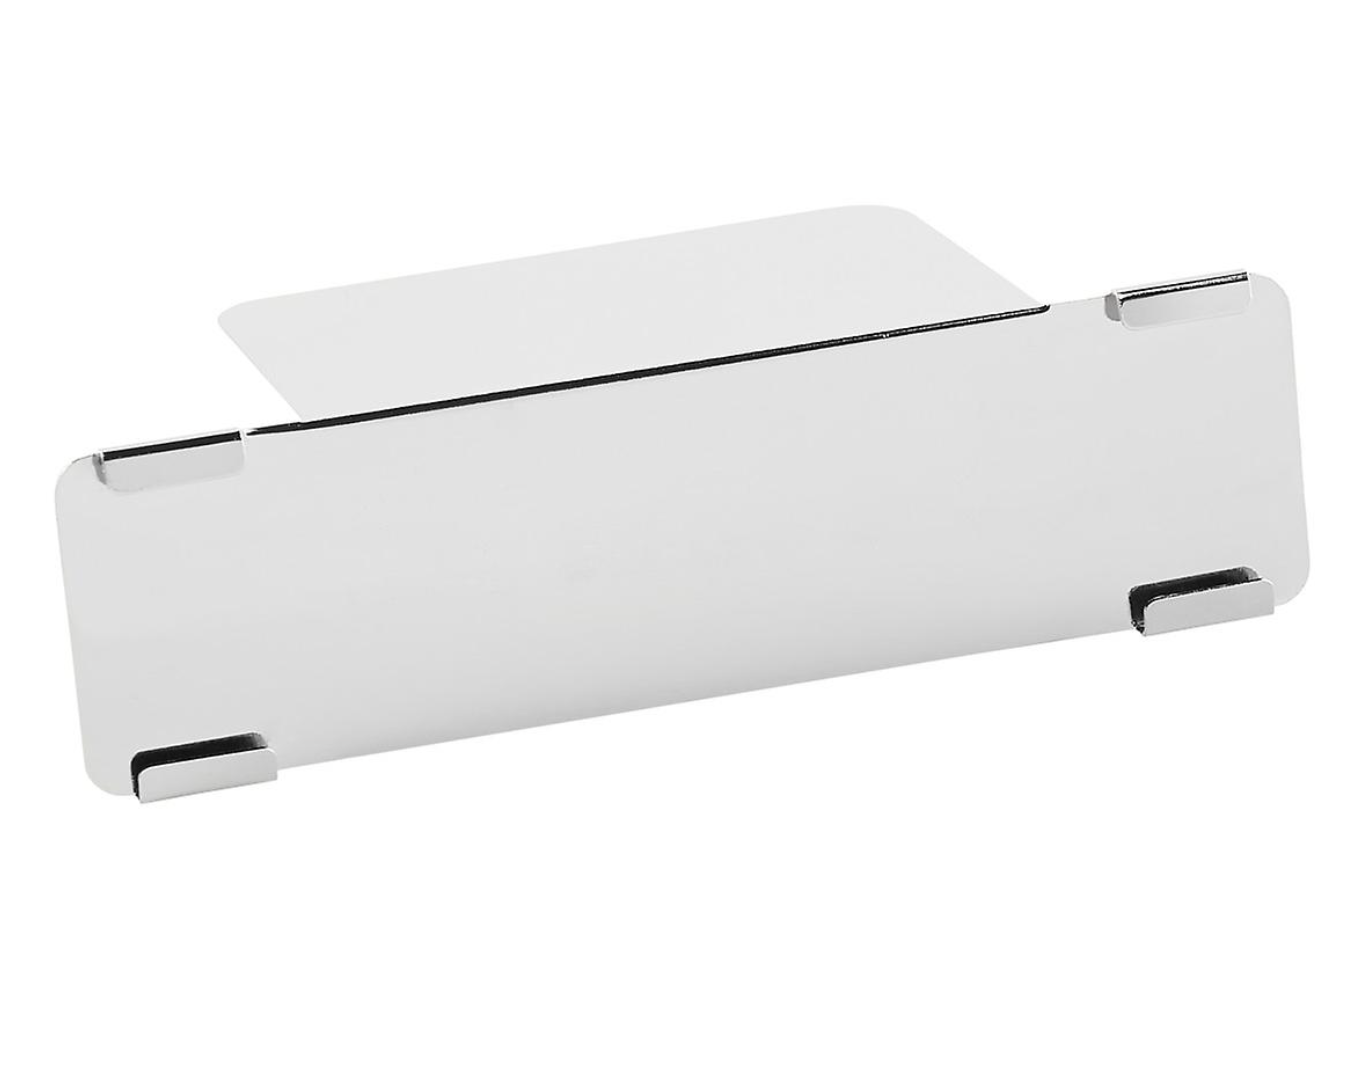
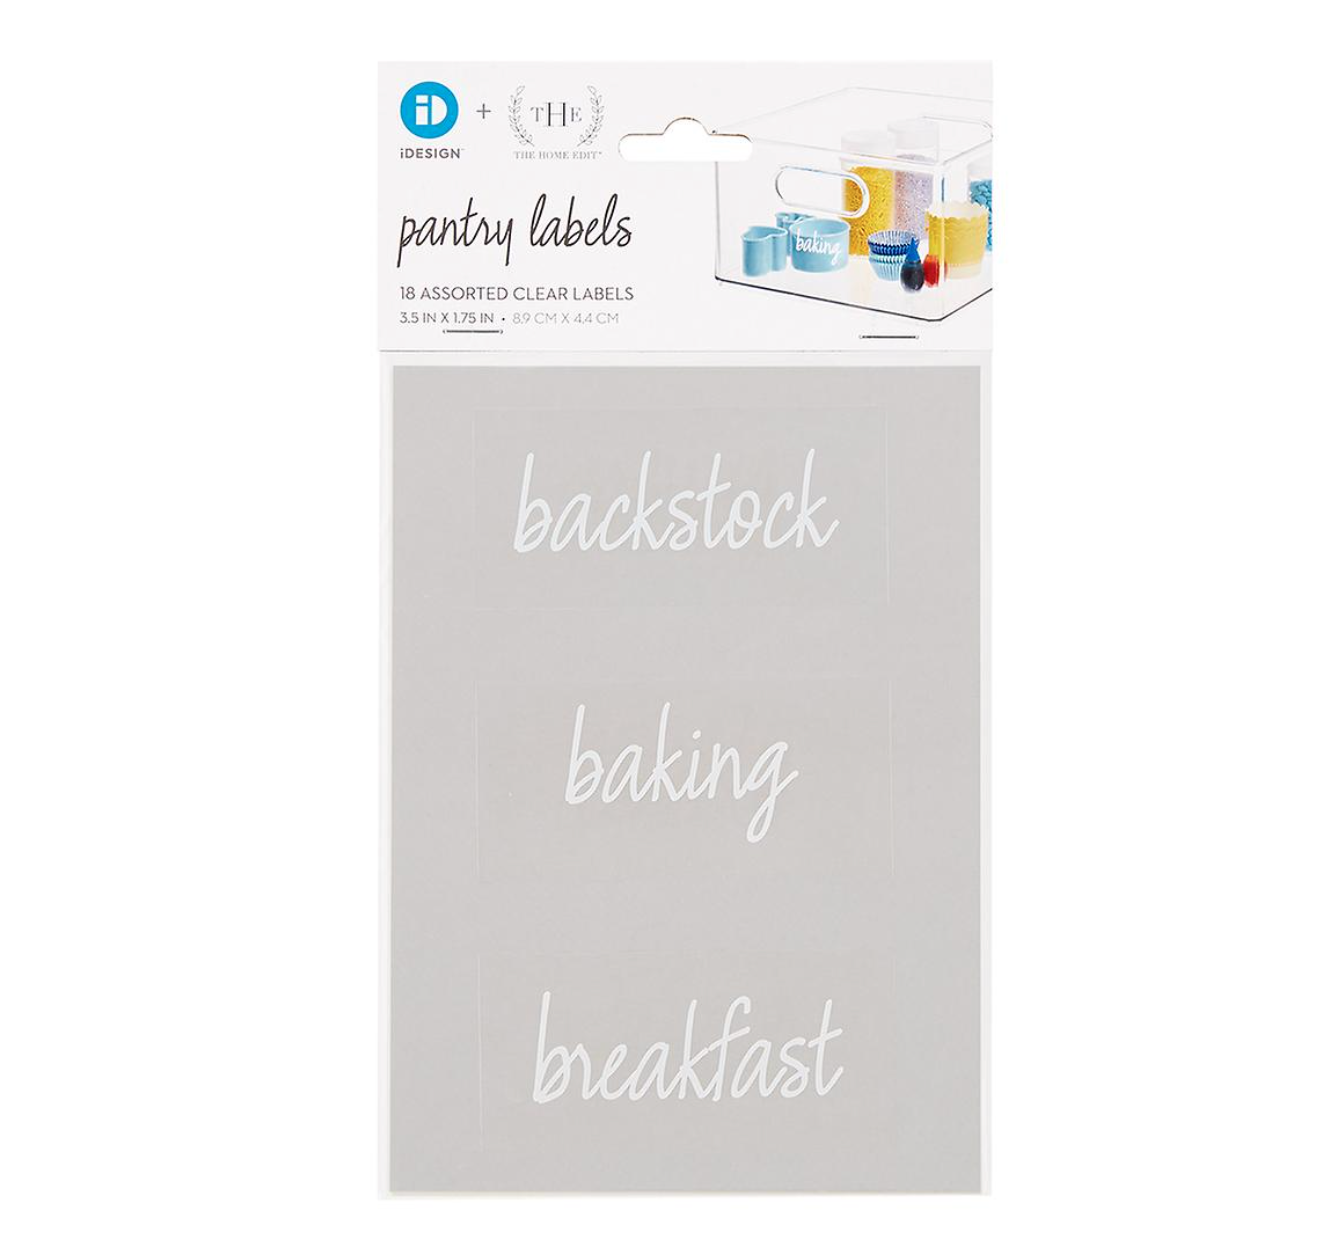
Labels are your friend! Label all baskets, bins and containers. We use Bin Clip Labels for baskets and our Brother Label Maker for bins. If you don’t have a label maker, you can purchase pre-printed pantry labels.